Showing posts with label Mod Podge. Show all posts

Friday, April 29, 2011

My Zinc Bookcase: A Faux Finishing Tutorial Part 2

Best Blogger Tips
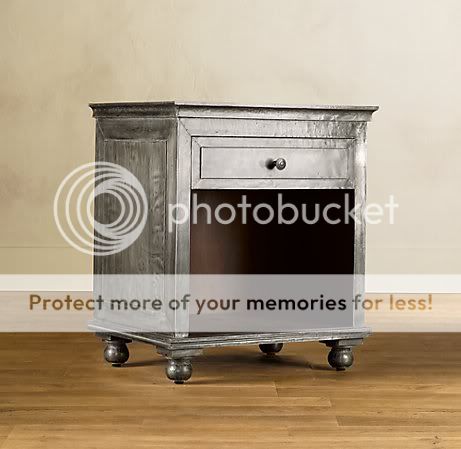
If you remember from the first part of the tutorial, I recently have fallen in love with zinc furniture. My inspiration came from pieces like this from Restoration Hardware. Like this gorgeous nightstand.

Beautiful. But of course I don't have $1000 to throw at a new piece of furniture so I decided to try and create the look myself.

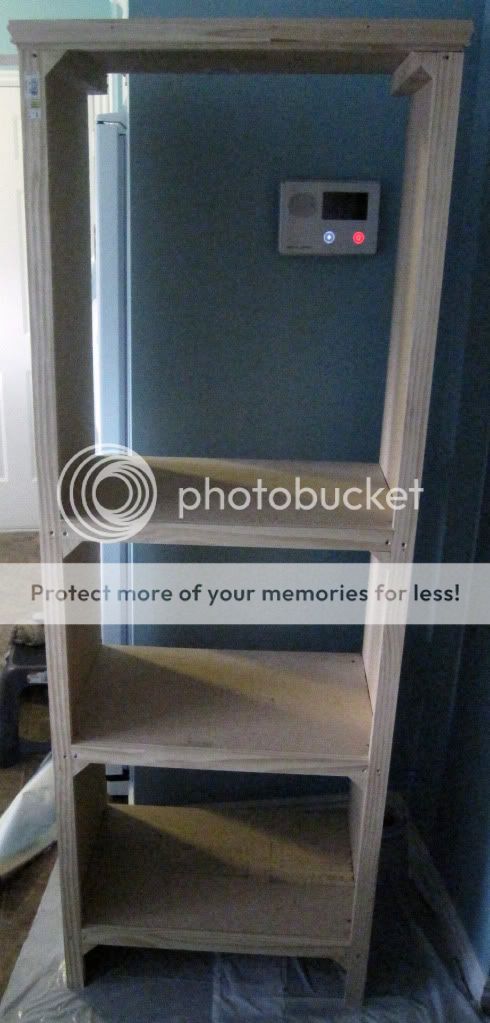
I finished the outside of my bookcase using my faux zinc finishing technique but the inside I had left to look like this.
Yes I know it looks great just the way it is (chuckle) but you know me, I am an overachiever.

It took me a few days to decide how to finish the inside. I kept going back and forth between fabric and the zinc look. All I knew is that I wanted it to have nice clean lines inside and I wanted to hide all the unfinished edges of the tinfoil.

I decided to go with fabric and to make sure my fabric would have clean lines I used poster board and mod podge.

First I had to cover the 2x2s that were in each corner. I cut my fabric to cover the two by two but I added 1 inch to the length. I covered the fabric with mod podge.

I folded each end over 1/2.

I pressed it over the 2x2 and moved it until it fit snugly and smoothed it out.

I did this on all of the 2x2s and then moved on to cover the sides and tops.

I first measured my sides and top and then I cut out my poster boards about 1/4" less. So if I measured 15 1/2 " by 23" I actually cut my poster board to 15 1/4" by 22 3/4".

Next I cut fabric about an inch bigger on all four sides and coated the poster board in a thin layer of mod podge.

I turned it over and smoothed the fabric out. I then wrapped the edges over and glued them down.

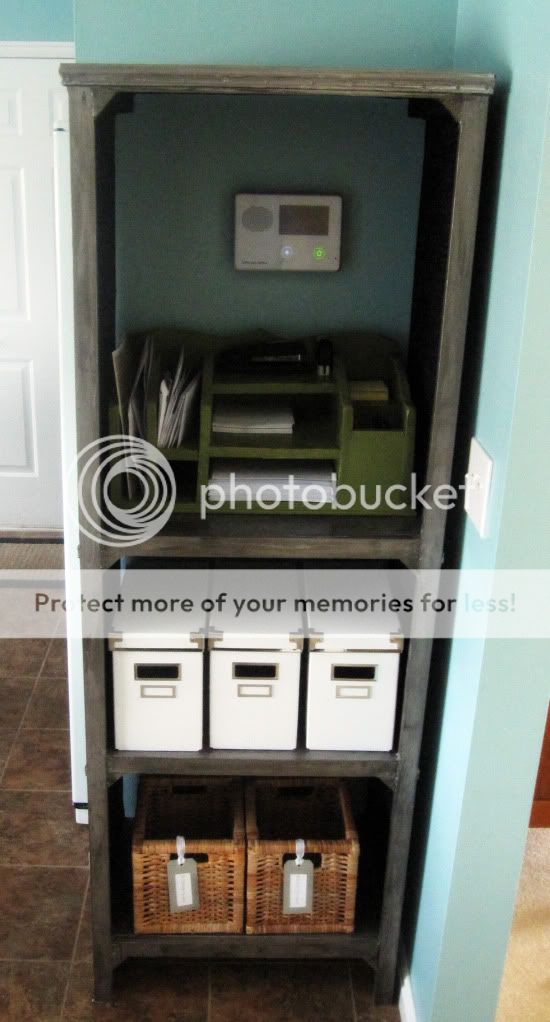
I then did another layer of mod podge on the back of the poster board and glued them the the sides of my bookcase until it looked like this.

I really liked how it turned out. It gave me clean lines and it added some interest to the piece. Here is another angle.

Here is a reminder of my inspiration.


I filled my shelves with things to help me get organized.


On the bottom shelf I put two baskets.
 I labeled the baskets with upstairs and downstairs. The kitchen is on the main floor and seems to be the gathering place for EVERYTHING in the house. This way I can throw things into the baskets as the day goes on and then take only one trip up and one trip down to put everything back. The baskets are from Ikea and I am going to do a tutorial on the tags.

On the middle shelf I have file boxes.
One thing I have struggled organizing since I have been married is mail. I have tried SO MANY different storage options but it always piles up on me. I am hoping that this bookcase will make opening my mail and then throwing away, shredding or filing right away more reasonable.These file boxes were also from Ikea.

On the top shelf I have my version of this Ballard Designs Desk Organizer.


This was the first thing I have ever built in my life. It is a little rough but I am like a proud mama when it comes to this organizer. I will share a tutorial soon on how to build one yourself.

You could easily use this technique on a existing piece of furniture but you could also build something new. You can visit Ana White's site for some great plans. You can even check here to see the kitchen furniture we built with her free plans.

I hope everyone had a great week. Did anyone else watch the royal wedding? I got together with a few friends and watched it today (thanks to a DVR). They were so cute and I loved watching them break into huge grins. I thought it was nice to see something so sweet on TV when usually it is just sad. My heart and prayers go out to those living in the areas affected by the crazy tornadoes they have been having down south.

Thursday, April 21, 2011

My Zinc Bookcase: A Faux Finishing Tutorial Part 1

Best Blogger Tips
We have had quite an adventure up here. My husbands company finds us housing to live in while we are away for the summer but when we got here the apartments were not ready to move into, so we have been staying at an extended stay.

Oh, the fun you can have in a tiny room with 3 kids all day.... wait...

Well, after looking into the apartments they had for us I found out that they accepted animals and from most of the reviews it sounded like there are a ton of animals there. Well I panicked a little because my oldest has animal allergies, especially to cats, and those allergies induce asthma attacks.

Bad ones. 

I called the housing department at my hubby's work and they were so sweet and understanding and took it upon themselves to find us a new place on almost no notice! We get to move in on Saturday and I get to kiss this extended stay goodbye. Now that is exciting!

In my kitchen at The Starter Home I have an awkward empty space right next to the fridge. I have always wondered why they didn't just put more cabinets there...

Well I decided to build a mail storage/book shelf thing for that wall so increase my storage space and make use of all that empty space.

My husband built the bookcase using mdf, 2x2's, 1x2's and moulding.


Because the main part of this was made from MDF I knew I would have to paint it but I wasn't really sold on a color or even how it would look once it was all done. After scourging the internet I fell in love with zinc wrapped furniture. Zinc furniture is all over the place in super gorgeous/expensive designs right now. I mean just take a look at this piece from Restoration Hardware. I mean it is only a measly $795. Pocket change....right...?

www.restorationhardware.com

I loved the idea of adding another layer to my kitchen. I had painted wood cabinets, stained wood furniture so I thought a metallic piece would be a great addition but the real questions was how in the world could I create it? I thought about just painting the wood with metallic paint but I was worried that it would look just like that.

Wood painted with metallic paint.

So I decided to get a little creative and pray to the crafting gods that it would all turn out how I wanted.

I used some tinfoil, a ton of mod podge, craft paint (I bought black, cream, gray and brown metallic craft paints) and a foam craft brush.

The very first thing I did was apply the tinfoil. I planned out where I wanted seams and started going for it.

Cut your tinfoil to fit the area you will cover and then use your craft brush to apply a thin layer of mod podge to the wood.

Smooth your tinfoil over the wood being careful to not wrinkle it too much.

Keep up this process until you have completely covered your item. When my hubby walked in at this point you could tell that he hated it but wasn't sure how I felt about it.  He sat there quietly starring and not wanting to hurt my feelings.

I let him struggle for a minute before I told him I wasn't done. Big Huge Sigh of Relief!

Do you see that large container of mod podge! Seriously love that stuff.

Next I used small nails to create the look that the metal was wrapped around the furniture. I used pictures from Restoration Hardware to choose where to place them. Then I started the faux finishing.

I was going to use a glazing medium to create the the faux zinc look but then I decided to use the flat finish mod podge. Not only would it create a protective finish but since it drys clear it would work similar to a glaze.

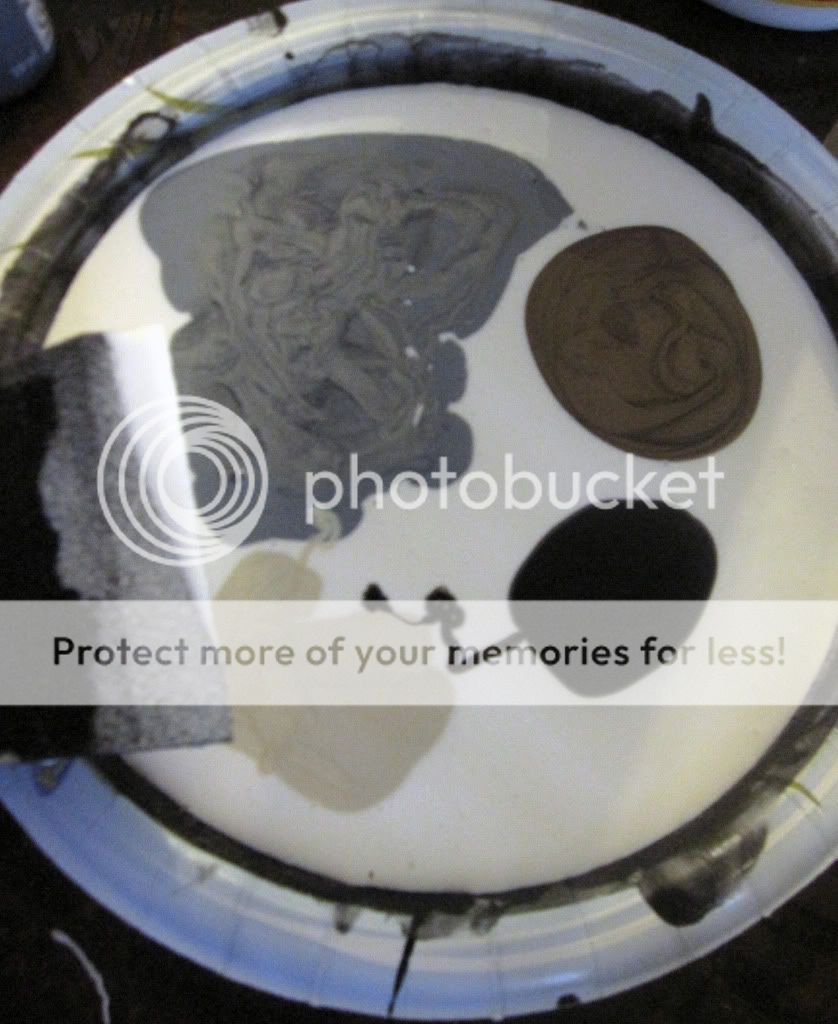
I poured a bunch of mod podge on a plate and added my colors.

I used mostly the grey metallic color and just added spots of the black, brown and cream. Next I mixed the colors until they were kind of swirly.

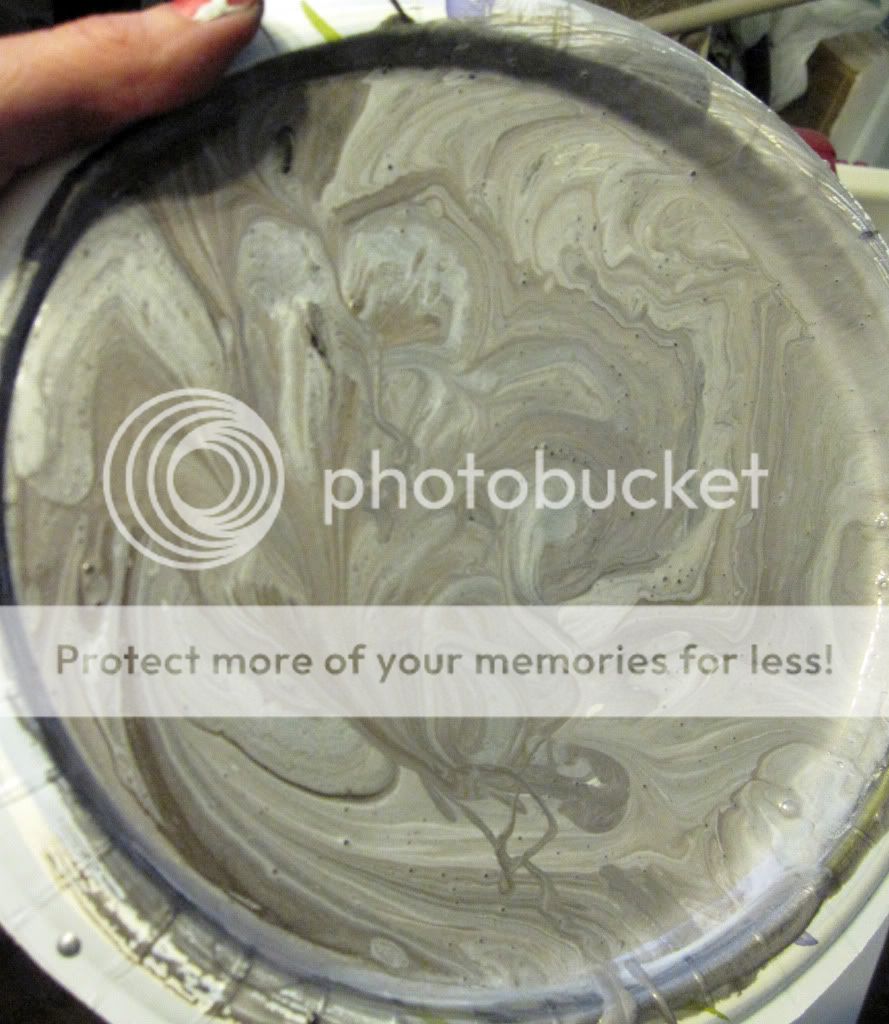
Like this.

You don't want to mix it too much because you want there to be variation in the color. I just painted on a layer letting the colors go where they wanted and not trying to be too perfect with it. This was while it was still wet.

Do you see how it is kind of streaky and varied? Let that layer dry and keep layering. I think I ended up with four coats of different mixtures.

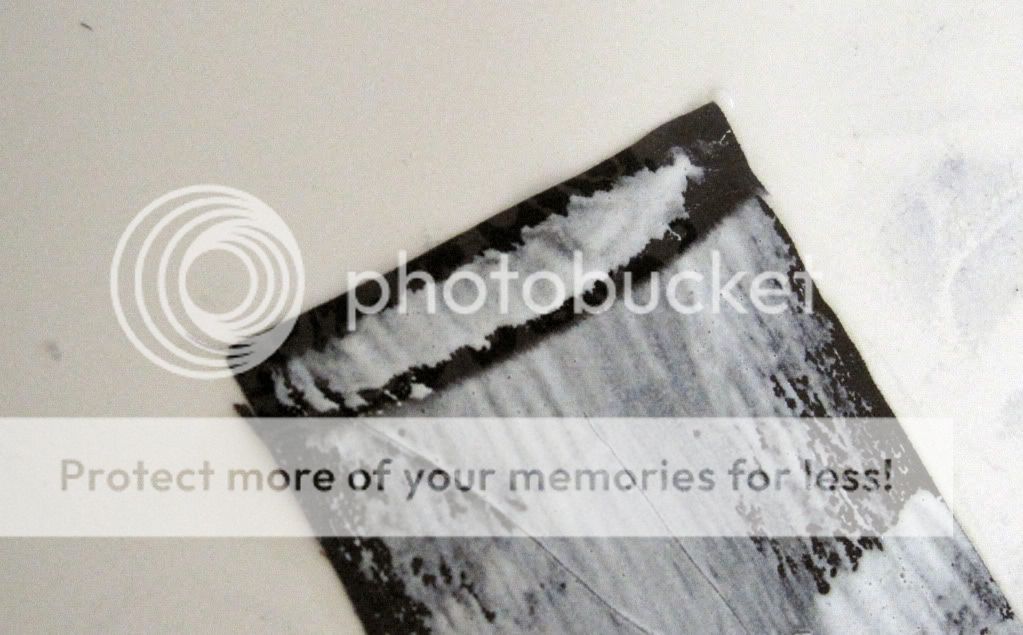
This was the side after the first layer had dried. It still looked a little tinfoily.

Now the sides were a little plain so I added metal straps to them. I cut out strips of cardboard and, using mod podge, I covered them in tinfoil.
If you like my granite counters in the background of these photos you can learn how I created them with craft paint here.

I attached the strips to the sides of my bookcase with nails and used my mod podge/paint mix to faux finish them.


I let everything dry thoroughly and then topped it with two coats of satin finish poly-acrylic.

Here is just one side. I decided not to finish the inside of it with the zinc finish so I will show you in the next post how I chose to finish the inside and I will also have the final after pictures!

Thanks to all you who come, read and share your thoughts on the happenings at The Starter Home and hopefully the next time I am posting it will be from an apartment and not a hotel :)

Tuesday, January 25, 2011

A New Years Resolution and a Fabric Covered Journal

Best Blogger Tips
The hubster and I were talking a few days ago about New Years resolutions. The entire idea drives my hubby nuts. People make the same resolutions year after year but never actually follow through. Sometimes people even put off good resolutions until the beginning of the year so they don't have to work on them now.

So can resolutions begin at anytime? I sure hope so because I almost never start resolutions on the very first of the year.

Now don't get my man wrong. We set goals for our family at the beginning of the year. On the first family night of the year we all set goals. Even the littles. Some of Baby V's goals this year are to learn to crawl and walk. Mr. P wants to start learning to read and Mr. U wants to get potty trained.

Okay mommy wants him potty trained.

My hubby and I set goals for our family. Financial, spiritual etc but we also set individual goals.

This year one of my goals is to keep a journal.

Ugh.

I have been told all my life the importance of keeping a journal. Leaving your story for future generations, keeping a record of your thoughts.

I am just not convinced that anyone would find my grocery shopping trip or changing diapers a good read.

So I decided to have a theme this year. I am not going to write about day to day happenings but I am going to record something funny or happy that each of my child did or said that day.

I want to remember those moments.

In order to help me keep my resolution I need something fabulous to keep those memories in.

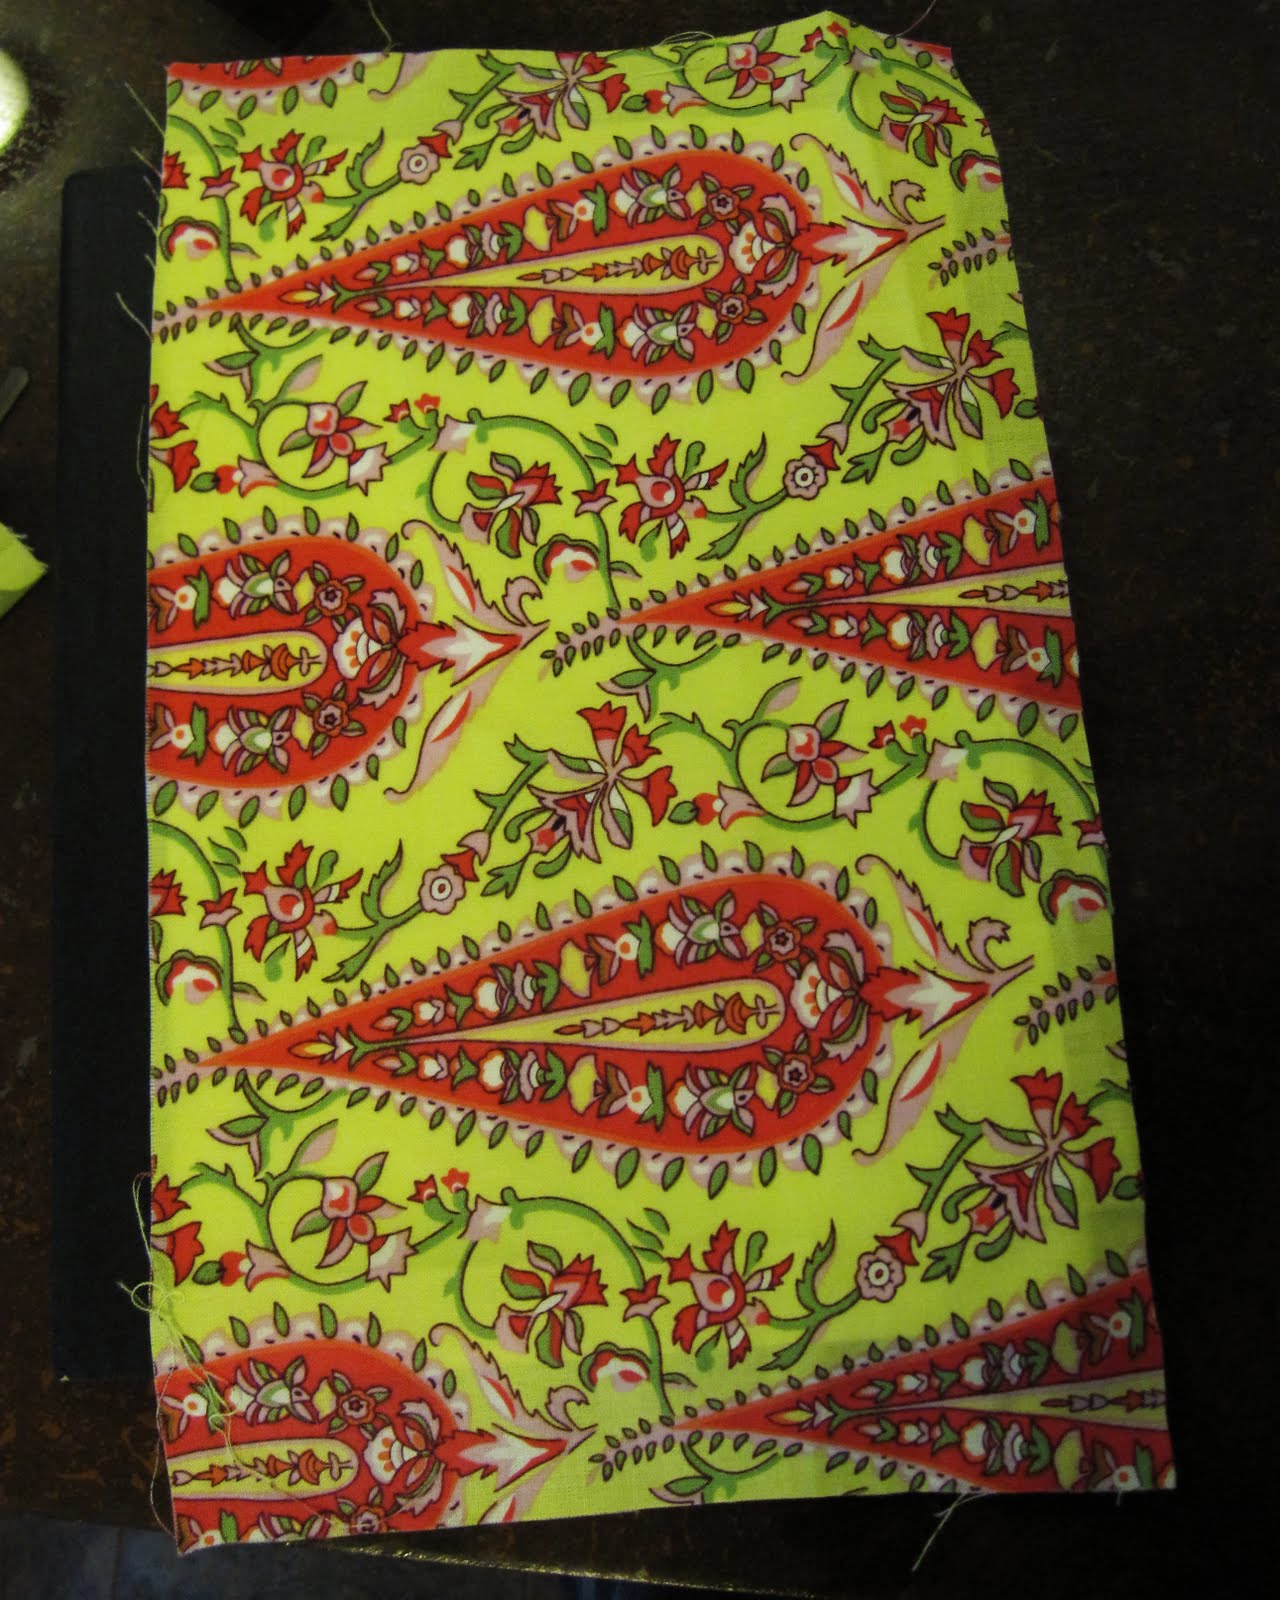
The fabric is from Amy Butler's awesome Love collection. Cypress Paisley in Lime, Sun Spot in Olive and Tumble Roses in Tangerine.

It's just begging for me to fill it with thoughts.


Want to make one, too?

Gather your supplies. Fabric scraps, ribbon, hot glue gun, mod podge, composition book, paint brush, solid color cardstock, scissors and a pen.


First you need to take your cardstock and place it inside your journal. Line it up with the black band and trace around the journal. Cut two pieces of that same shape.


Glue those pieces on the front and the back with hot glue. Glue down the edges and run a bead of glue down the middle. This will make it so you can't see the cover through the fabric

Take another piece of cardstock and do the same thing but this time push it flush to the inside. When you cut this one out you want to cut inside your line about 1/4 inch on the top, one side and bottom. Cut two of these.

You then need to cut two rectangles from your fabric for the front and back. Make sure to cut them about 1/4-1/2 inch bigger on all sides. Use your mod podge to glue the fabric down.

Open your cover and run thin strips of it on the edges and push your fabric down. Fold the corners and pull the fabric slightly. Repeat the same process on the back cover also.

Next I cut a strip of fabric to cover the black binding (you could also use really wide ribbon). Cut it about an extra 1 1/2 inches wider and longer. I pressed the fabric in half and then pressed the long sides over with an iron about 1/4-1/2 inch. Glue it using mod podge to the front of your journal.


Make sure you cover the raw edge of the other fabric. DO NOT glue it to the spine or back yet. Turn your journal over.

You are going to make two cuts on each side of the strip like in the picture. You want to make the cuts so the middle piece is the width of the spine of the journal. Glue down the middle piece with hot glue or mod podge.


Cut a piece of coordinating ribbon a about 3-4 inches longer than the journal. Use a lighter, candle or match to heat seal the ends by melting the ribbon slightly. Glue the ribbon to the upper spine with hot glue. Fold over your strip of fabric and use mod podge to glue in place on the spine andback cover. Make sure you fold the long edge under.

Open your journal and glue the strip of fabric on the inside using mod podge.

Take the two pieces of cardstock you cut for the inside. Cut fabric a little bigger on all four sides than the cardstock. Glue it to the cardstock and turn it over. Glue all four sides down. Glue this piece to the inside of your journal. I used mod podge to glue it down but then I went back with hot glue and glued the edges down with that.

I can't wait to start using it! This would be cute for a journal, to do list, planner, anything. You could also use cute paper instead of fabric.


What about you? Do you have New Years resolutions? Do you keep them? Do you have anything that helps you accomplish them?

Well I am off to write down today's adventures.
Related Posts Plugin for WordPress, Blogger...