Showing posts with label Crafts. Show all posts

Thursday, April 21, 2011

My Zinc Bookcase: A Faux Finishing Tutorial Part 1

Best Blogger Tips
We have had quite an adventure up here. My husbands company finds us housing to live in while we are away for the summer but when we got here the apartments were not ready to move into, so we have been staying at an extended stay.

Oh, the fun you can have in a tiny room with 3 kids all day.... wait...

Well, after looking into the apartments they had for us I found out that they accepted animals and from most of the reviews it sounded like there are a ton of animals there. Well I panicked a little because my oldest has animal allergies, especially to cats, and those allergies induce asthma attacks.

Bad ones. 

I called the housing department at my hubby's work and they were so sweet and understanding and took it upon themselves to find us a new place on almost no notice! We get to move in on Saturday and I get to kiss this extended stay goodbye. Now that is exciting!

In my kitchen at The Starter Home I have an awkward empty space right next to the fridge. I have always wondered why they didn't just put more cabinets there...

Well I decided to build a mail storage/book shelf thing for that wall so increase my storage space and make use of all that empty space.

My husband built the bookcase using mdf, 2x2's, 1x2's and moulding.
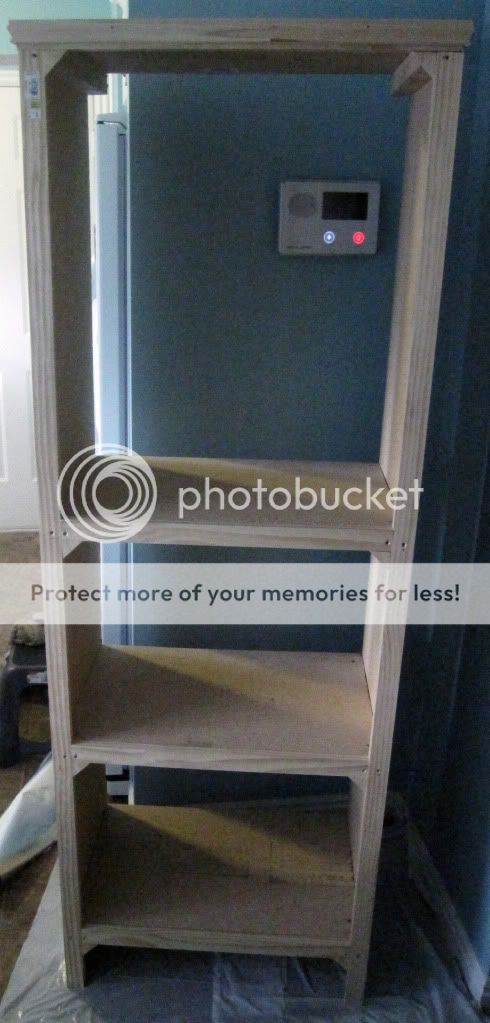

Because the main part of this was made from MDF I knew I would have to paint it but I wasn't really sold on a color or even how it would look once it was all done. After scourging the internet I fell in love with zinc wrapped furniture. Zinc furniture is all over the place in super gorgeous/expensive designs right now. I mean just take a look at this piece from Restoration Hardware. I mean it is only a measly $795. Pocket change....right...?
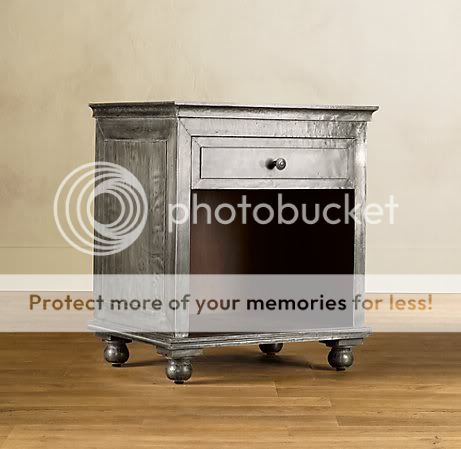
www.restorationhardware.com

I loved the idea of adding another layer to my kitchen. I had painted wood cabinets, stained wood furniture so I thought a metallic piece would be a great addition but the real questions was how in the world could I create it? I thought about just painting the wood with metallic paint but I was worried that it would look just like that.

Wood painted with metallic paint.

So I decided to get a little creative and pray to the crafting gods that it would all turn out how I wanted.

I used some tinfoil, a ton of mod podge, craft paint (I bought black, cream, gray and brown metallic craft paints) and a foam craft brush.

The very first thing I did was apply the tinfoil. I planned out where I wanted seams and started going for it.

Cut your tinfoil to fit the area you will cover and then use your craft brush to apply a thin layer of mod podge to the wood.

Smooth your tinfoil over the wood being careful to not wrinkle it too much.

Keep up this process until you have completely covered your item. When my hubby walked in at this point you could tell that he hated it but wasn't sure how I felt about it.  He sat there quietly starring and not wanting to hurt my feelings.

I let him struggle for a minute before I told him I wasn't done. Big Huge Sigh of Relief!

Do you see that large container of mod podge! Seriously love that stuff.

Next I used small nails to create the look that the metal was wrapped around the furniture. I used pictures from Restoration Hardware to choose where to place them. Then I started the faux finishing.

I was going to use a glazing medium to create the the faux zinc look but then I decided to use the flat finish mod podge. Not only would it create a protective finish but since it drys clear it would work similar to a glaze.

I poured a bunch of mod podge on a plate and added my colors.
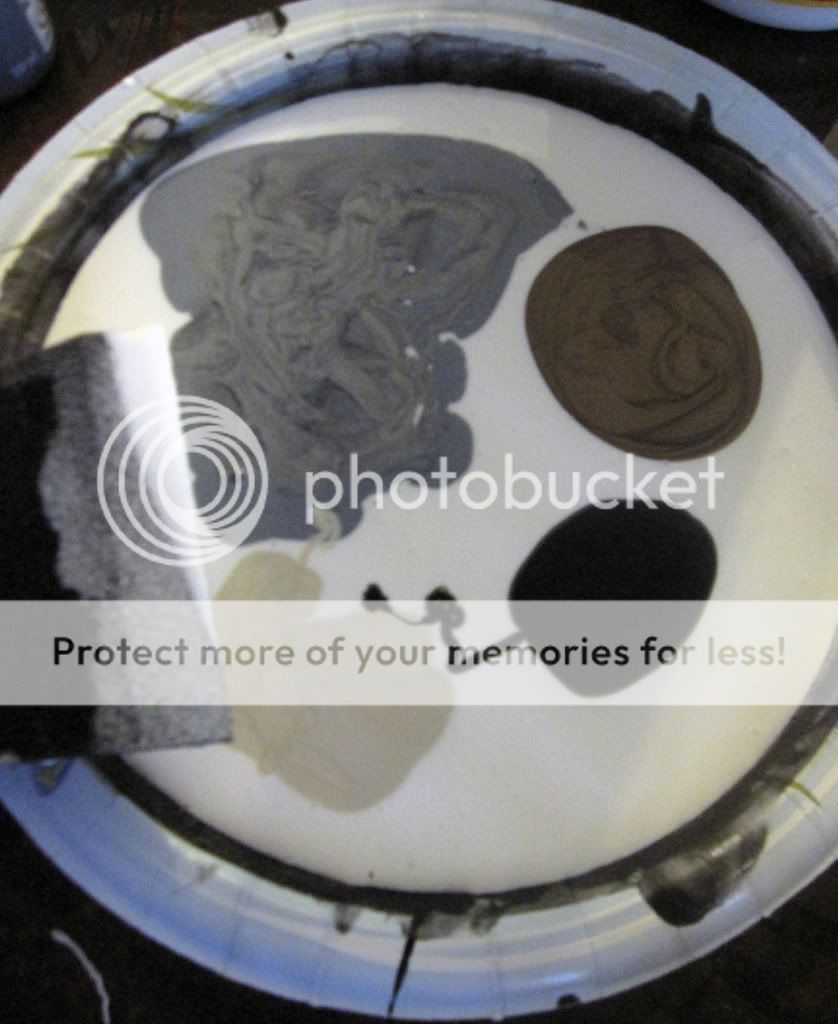
I used mostly the grey metallic color and just added spots of the black, brown and cream. Next I mixed the colors until they were kind of swirly.

Like this.
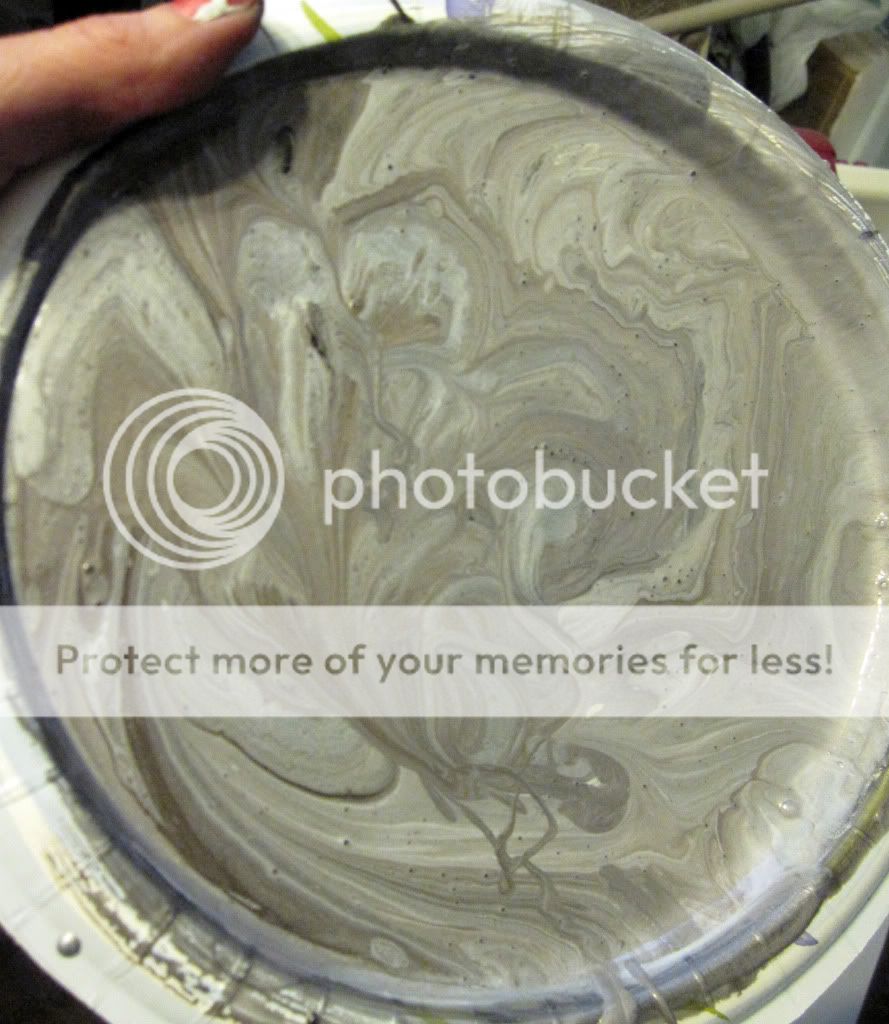
You don't want to mix it too much because you want there to be variation in the color. I just painted on a layer letting the colors go where they wanted and not trying to be too perfect with it. This was while it was still wet.

Do you see how it is kind of streaky and varied? Let that layer dry and keep layering. I think I ended up with four coats of different mixtures.

This was the side after the first layer had dried. It still looked a little tinfoily.

Now the sides were a little plain so I added metal straps to them. I cut out strips of cardboard and, using mod podge, I covered them in tinfoil.
If you like my granite counters in the background of these photos you can learn how I created them with craft paint here.

I attached the strips to the sides of my bookcase with nails and used my mod podge/paint mix to faux finish them.


I let everything dry thoroughly and then topped it with two coats of satin finish poly-acrylic.

Here is just one side. I decided not to finish the inside of it with the zinc finish so I will show you in the next post how I chose to finish the inside and I will also have the final after pictures!

Thanks to all you who come, read and share your thoughts on the happenings at The Starter Home and hopefully the next time I am posting it will be from an apartment and not a hotel :)

Thursday, March 31, 2011

Bottle Cap Magnet Tutorial

Best Blogger Tips
My-Oh-My what a week it has been. I have been so busy because of our upcoming move and my two youngest have been sick. Really sick. I just hate when my kiddos are sick. They can't tell you what is wrong and there is so little you can do for them.

I am still on the journey of finding some rugs for my kitchen. I purchased one online and I hope that I like it once I actually see it.

I am getting more and more excited for our move and the adventures we will have. The kitchen is done (minus some fabulous rugs yet to arrive) and I have started on the nursery. I completed my first mood board ever for the nursery and I will post it in a few days. I am really enjoying working on this room for my sweet baby girl and can't wait to see the final product.

Now a few days ago I showed you the other side of my new pantry door and I promised to show you how to make some really cute magnets.

First buy you and your kiddos some yummy IBC root beer or cream soda and have a yummy treat with your family. Save those lids.

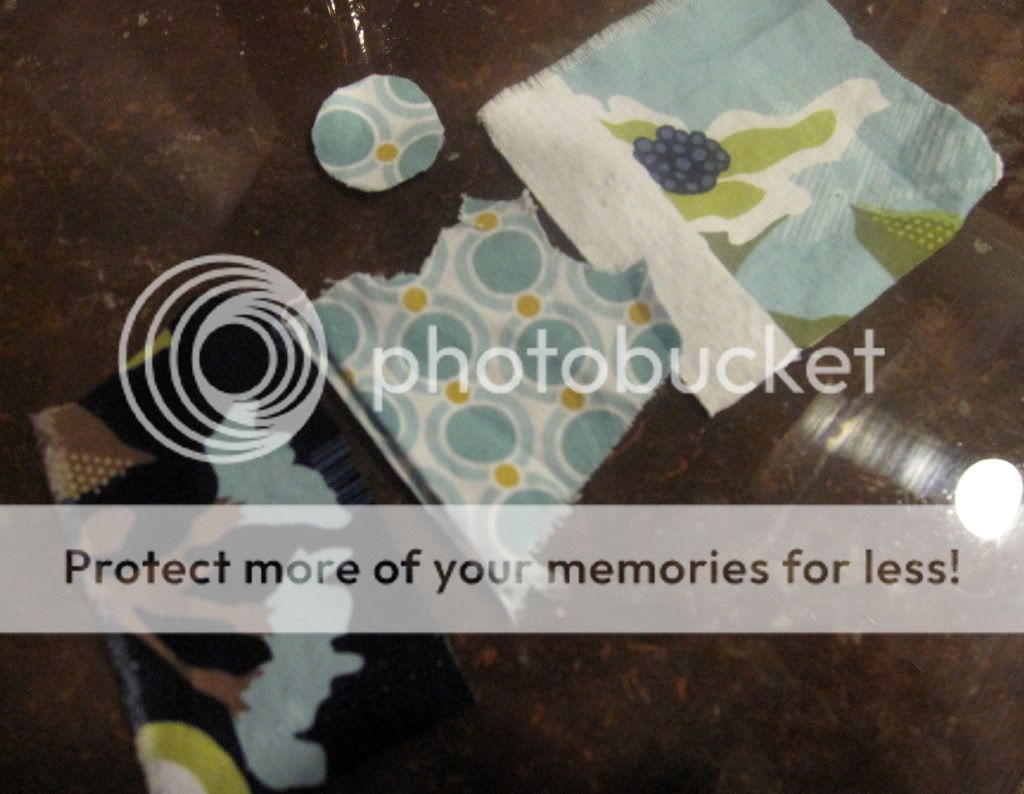
Gather scraps of fabric or paper to fill your caps with.

Use a disappearing ink marker to trace the bottle caps onto the fabric and cut the circles out. Don't worry if they aren't perfect.

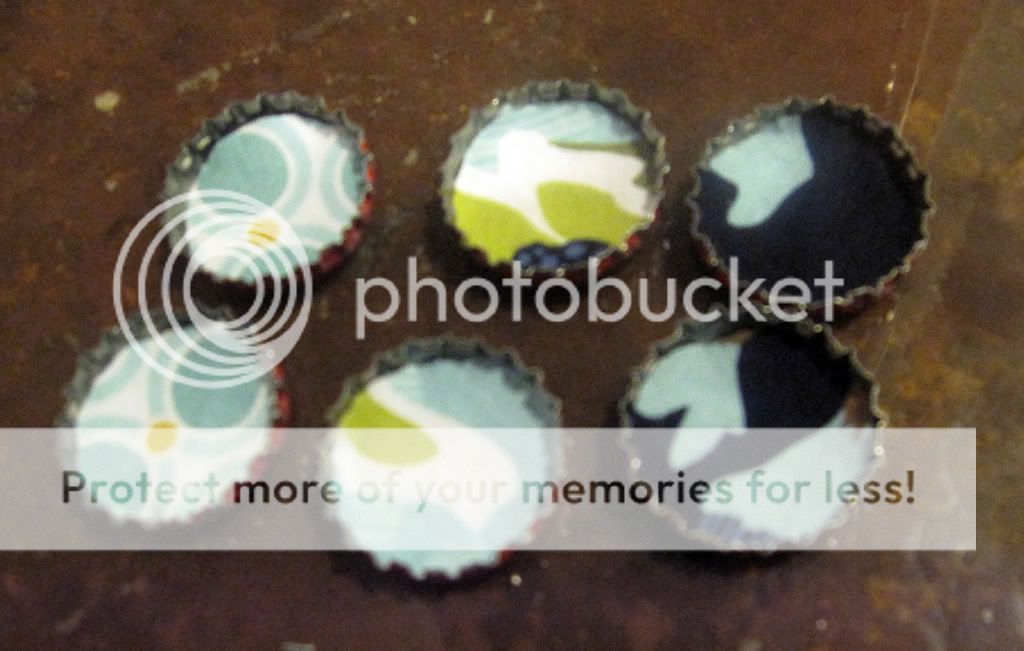
Use a small amount of hot glue to attach the fabric to the inside of the bottle cap.

Next I used the epoxy resin EnviroTex Lite. This is the same product I used on my counter tops.

You want to mix equal parts of the resin and hardener in the straight sided cup. I used about a Tablespoon of each. You want to mix in for two minutes and make sure it is mixed well.

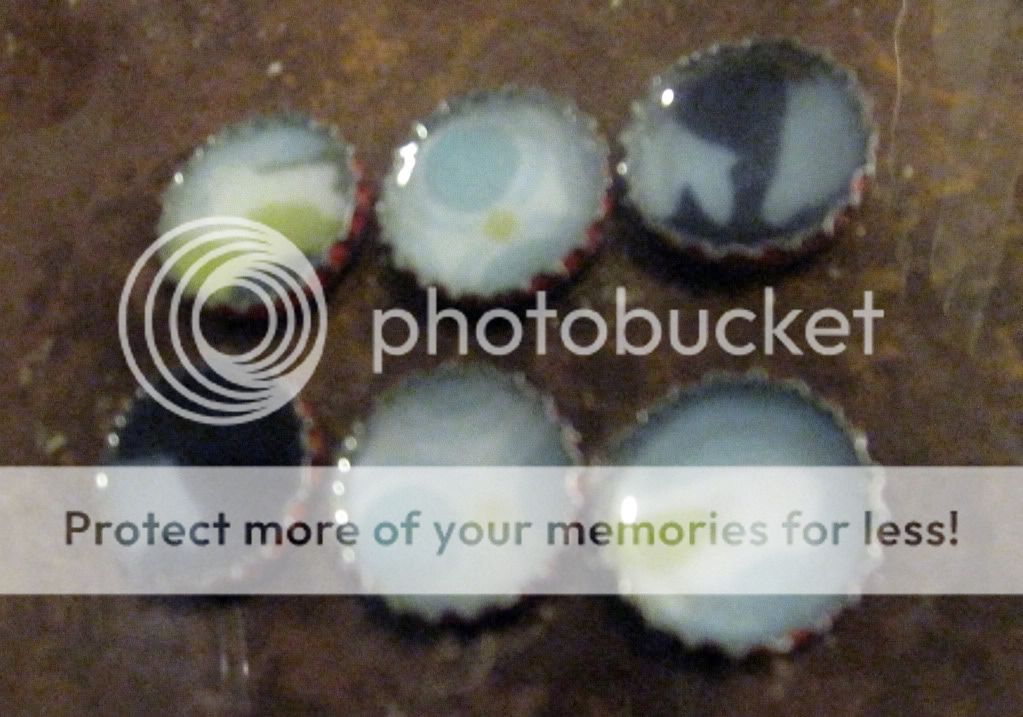
I used about a teaspoon to fill each of the bottle caps with about 1 tsp of resin. Can you see how full of bubbles they are?

Next you want to use a lighter to help the bubbles come to the surface and pop.

Much clearer.

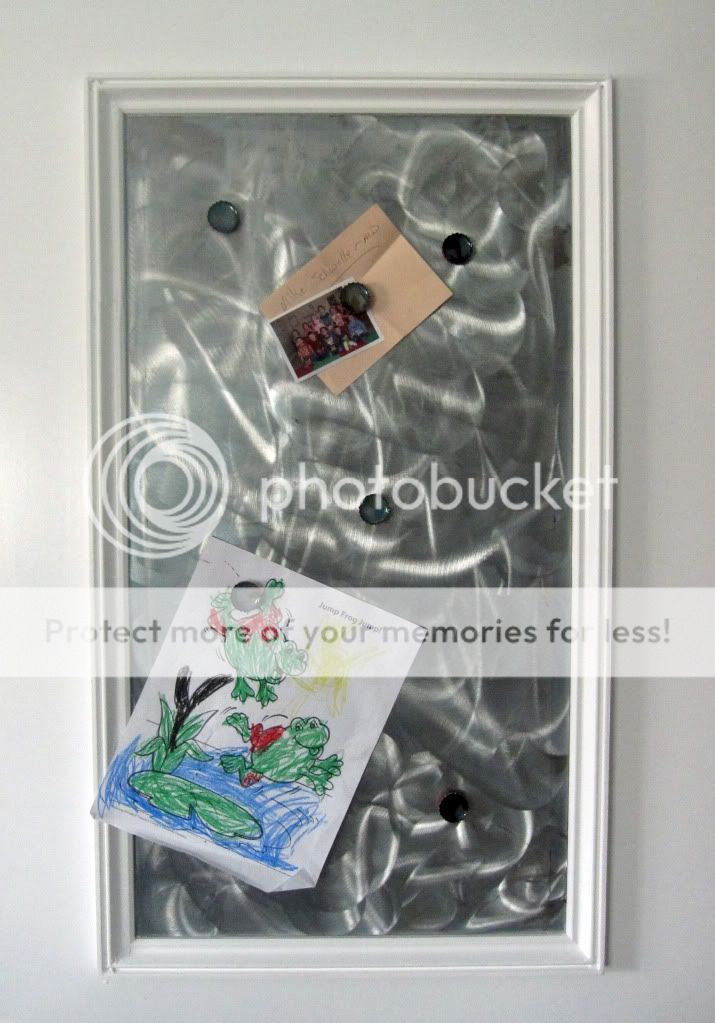
I attached a magnet to the back of the bottle cap. You can use hot glue but the kind of magnets I used had a sticky foam piece already on it.

Here they are holding up some art from my wonderful 4 year old.

You can also buy cute digital art from Etsy that you can print from home. Here are some darling examples.


Piddix

Also if you click here you can see several shops that offer different images to make your own magnets.

This is such a fun project and an easy way to customize your own magnets.


Friday, March 25, 2011

Kitchen Wall Art Tutorial: "Giclee" Print, Silverware Art and Painted Bundt Pan

Best Blogger Tips
There was a big blank wall in my kitchen and I kept tossing around different ideas around in my head on what to do with it. Here is the final result.


On my search I ventured upon these two photos.
www.crapivemade.com
I especially loved this one with it's mix of vintage flair and clean modern lines.
www.bluecricketdesign.net

I bought a ton of frames from the local thrift store. I removed the back from the frame and sprayed it with spray adhesive. I also grabbed some left over navy fabric.

After spraying the board I smoothed out the navy fabric over the top.

I trimmed the fabric to fit, leaving about 1/4 inch around the edge.

I spray painted the frame a glossy white and put the fabric covered board back in.

I took my silverware (also purchased from a thrift store) and slightly flattened the forks and spoons (sorry for the horrible next few pics. I had to take them in my garage).

I did 3 coats on the front and 2 coats on the back of the silverware.

Play with the layout of the silverware until you come up with something you like. I used hot glue to attach the silverware to the fabric board.

To finish of my wall I used another thrifted frame that I spray painted white. I used the same technique to attach a swatch from the Joel Dewberry Modern Meadow line into the frame.

I also love the modern word giclee print. I used photoshop to create it. Instead of printing it off at home I printed it off at Costco in a luster finish. The frame I used was another thrifted/spray painted white.

The bundt pan was also thrifted and spray painted navy.

Cost break down:
   Frames: $3
   Print: $1.50
   Silverware: $1.50
   Bundt Pan: $1.50
   Spray Paint: $1
   Fabric: Free

   Total: $8.50

Oh, yeah. I'm cheap like that.

Love it.

Thursday, March 17, 2011

Felt Cupcake Pincushion Tutorial: Two Delicious Options

Best Blogger Tips
I think I was really lucky because after I got married because my mom gave me ALL of her sewing stuff including her sewing machine. It was so nice to have everything from the get-go and even nicer to not have to pay for it all myself.

One of the things in my hand-me-down pack of treasures was the classic tomato pincushion.

You know the one I am talking about.

I remember playing with this particular pincushion as a child. I don't know why kids get so much enjoyment out of playing with pins but I know I loved it. Now I have kiddos of my own and they surely enjoy playing with them, too. Well I decided to upgrade my pincushion. Mostly because I already had the supplies so it would be FREE for me.

Yeah, I'm cheap like that.

Since I was upgrading I decided it needed to be something cute. Delicious even.

So I made myself a yummy cupcake pincushion and it turned out so cute but as I admired my creation I realized there was an even easier way to do it. So... I am going to show you both ways and you can decide which option works for you.


You will need:
2 sheets of felt in the same or coordinating colors

and

about a 8"x12" rectangle of fabric and about 8"x12" of quilt batting
or
about a 5"x12" rectangle of knit fabric

hot glue gun
sewing machine or needle and thread
and pins of course

Option 1: Fabric and Batting 
Cut strips from your two pieces of felt about 1/2"-3/4" lengthwise

Cut each of your felt pieces in half lengthwise and use your iron to press them in half.

Take two pieces of your felt (I used a dark brown and a light brown) and lay them on top of each other with just a small amount of the bottom fabric showing.

Beginning at one end roll your fabric tightly. Roll it to create a cone shape. You can tap the top or the bottom of the cone to adjust it. Here is how mine looked.

Add your second pieces of felt. Use a small dot of hot glue to secure it.

Continue to wrap until you have your cupcake top.

Turn your "cupcake" over and trim the excess off.

Now you need to create your liner. Using your "cupcake" as a guide, trace a circle about 1/2" bigger then the bottom. Cut the circle out and cut a matching circle from the batting. Use a basting stitch to secure the batting to the fabric.


Take the rest of your fabric and cut a rectangle. You want it to be able to wrap all the way around the cupcake with about 1" overlap. You also want it to be about 1/2" longer.

Match the fabric up with the batting and cut a matching rectangle. Using a sewing machine stitch lines about 1/4"-1/2" apart. This will create that ribbed look of a cupcake liner. Trim off any excess.

Press one long side of your rectangle over about 1/2" and one short side over 1/2". Wrap it around your cupcake. Mark with pins or disappearing ink where the liner needs to be sewn together.

Remove it from the cupcake and pin.

Turn the cuff you made inside-out and match right sides together with your circle piece. Stitch together and turn right side out.

Pull your liner onto your cupcake (this is when it occurred to me that using a stretchy fabric for the liner would be way easier)

Now find those two skinny strips of felt you cut earlier. Glue the ends on top of one another and glue it to the "cupcake" right above the liner.

Twist them and wrap it around your cupcake. Use hot glue in a few places to secure it in place. Trim off any extra and glue the end down. Place your sprinkle pins in it. DO NOT EAT :)

While I was taking pictures my 4-year-old came in and said, "Mom, that looks like a yummy cupcake." He picked it up and pulled the pins out. "COOL! The pins look like big sprinkles!"

pause pause pause

"Can I eat it?"

Nothing like a little guys comments to make you feel like you did your job.

Option 2: Stretchy Knit Fabric

I created my cupcake top the same way.

This time I used a piece of brown ribbed stretch knit. I rolled it to see how long I needed it. I also cut it to be about an inch wider than the cupcake.

I sewed the two short sides together to create a cuff. I then used a gathering stitch to gather one long side. After I had it gathered as tight as I wanted I ran a tighter stitch over my gathers to hold it tightly together.

Trim and turn right side out. Pull it onto your "cupcake".

Use the same technique to create the frosting edge by taking two skinny pieces and twisting them. This one was much easier. It took maybe 10 minutes.

I think it turned out so cute!

You can see that they are two different sizes. It just depended on how tight I wrapped them and how tall I made the cone shape.
 Yummy and oh-so-cute.

These would also be darling for a cupcake themed room or for play food.

What about you guys? Did you have to buy all your sewing supplies or do you not sew because of how expensive it would be to start up?

I am really grateful for all my mom's stuff. Having it in my home is actually the reason I became interested in sewing. Thanks mom!

Oh and Happy St. Patrick's Day. Yes, I know my post has nothing to do with it but myself and all my kiddos are currently in green but more importantly today is the first day of March Madness! Yep, we are one of "those" families. 
Related Posts Plugin for WordPress, Blogger...