Thursday, March 31, 2011

Bottle Cap Magnet Tutorial

Best Blogger Tips
My-Oh-My what a week it has been. I have been so busy because of our upcoming move and my two youngest have been sick. Really sick. I just hate when my kiddos are sick. They can't tell you what is wrong and there is so little you can do for them.

I am still on the journey of finding some rugs for my kitchen. I purchased one online and I hope that I like it once I actually see it.

I am getting more and more excited for our move and the adventures we will have. The kitchen is done (minus some fabulous rugs yet to arrive) and I have started on the nursery. I completed my first mood board ever for the nursery and I will post it in a few days. I am really enjoying working on this room for my sweet baby girl and can't wait to see the final product.

Now a few days ago I showed you the other side of my new pantry door and I promised to show you how to make some really cute magnets.

First buy you and your kiddos some yummy IBC root beer or cream soda and have a yummy treat with your family. Save those lids.

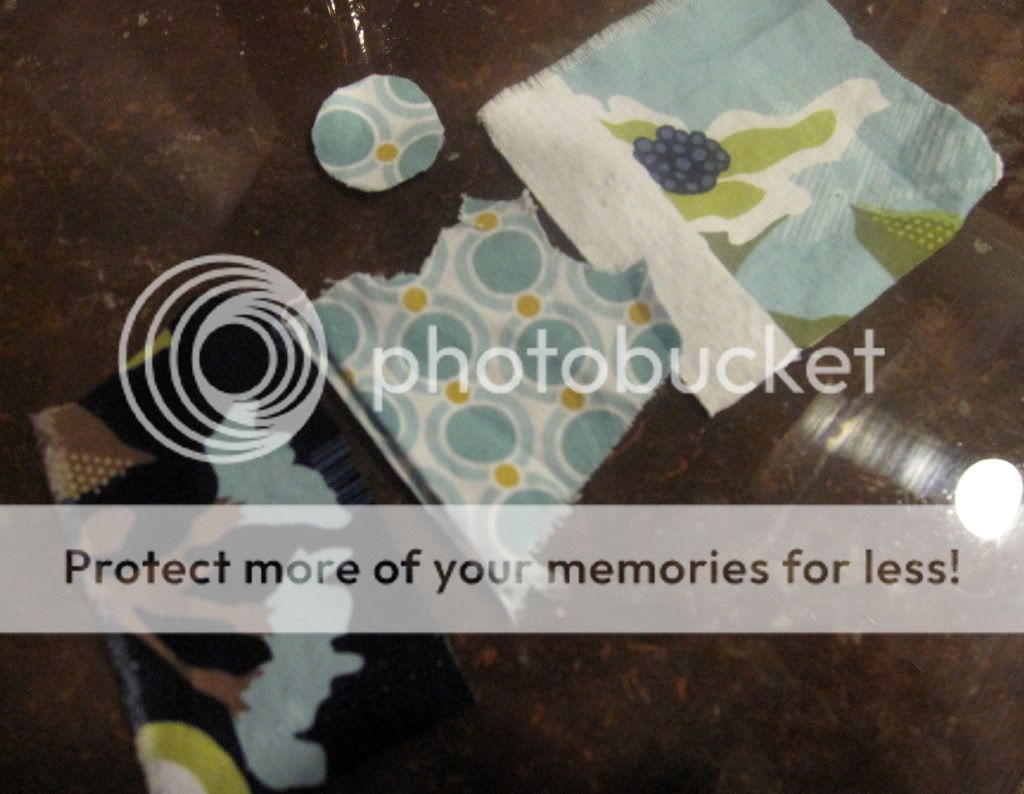
Gather scraps of fabric or paper to fill your caps with.

Use a disappearing ink marker to trace the bottle caps onto the fabric and cut the circles out. Don't worry if they aren't perfect.

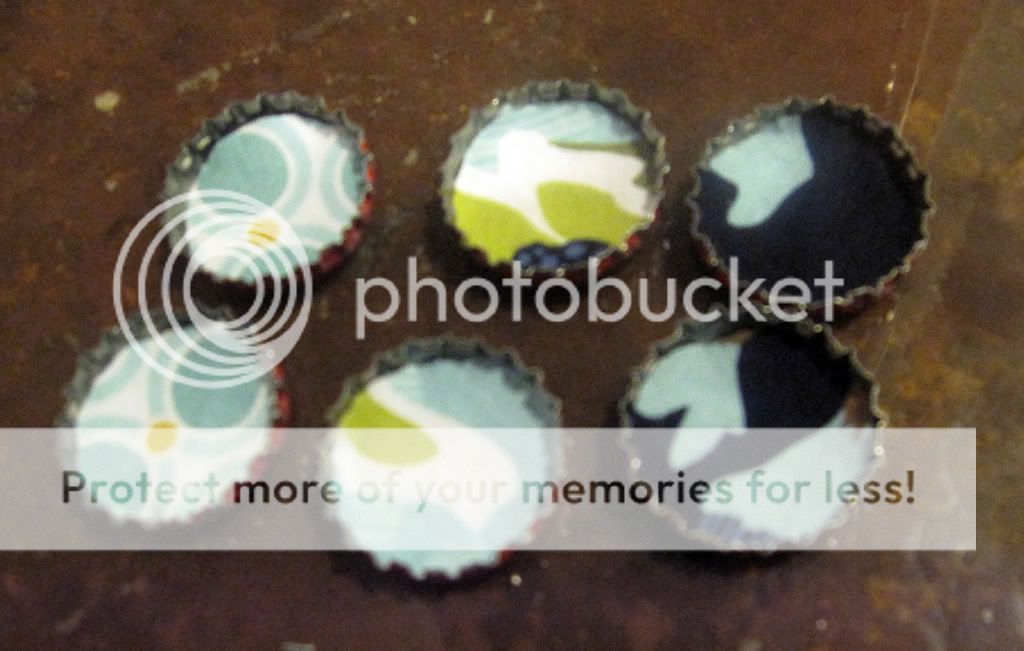
Use a small amount of hot glue to attach the fabric to the inside of the bottle cap.

Next I used the epoxy resin EnviroTex Lite. This is the same product I used on my counter tops.

You want to mix equal parts of the resin and hardener in the straight sided cup. I used about a Tablespoon of each. You want to mix in for two minutes and make sure it is mixed well.

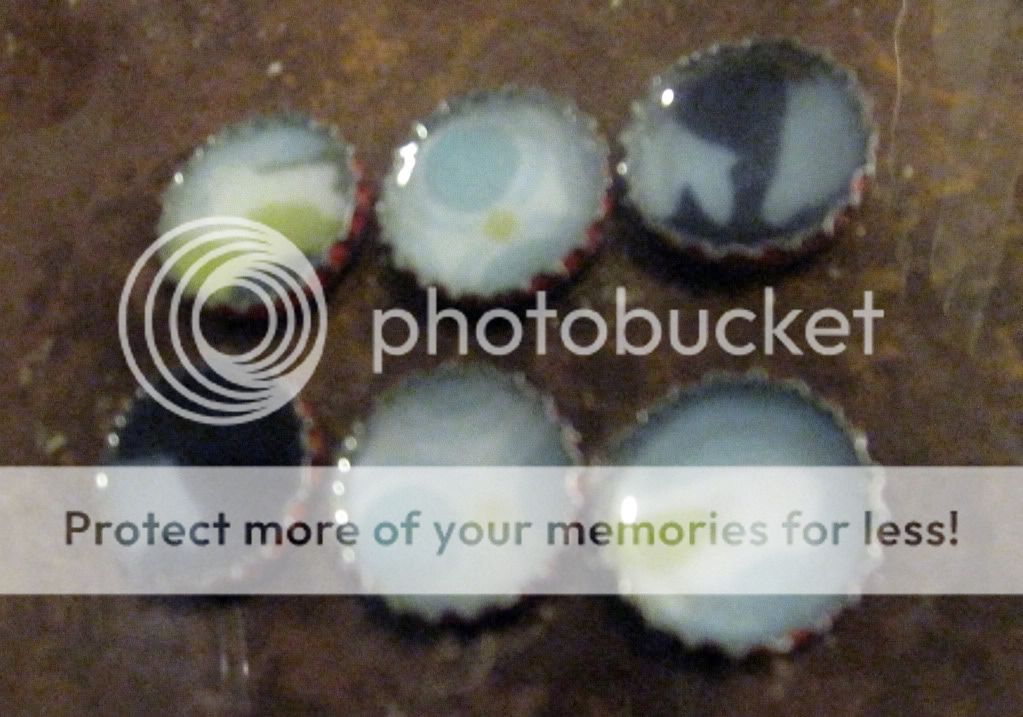
I used about a teaspoon to fill each of the bottle caps with about 1 tsp of resin. Can you see how full of bubbles they are?

Next you want to use a lighter to help the bubbles come to the surface and pop.

Much clearer.

I attached a magnet to the back of the bottle cap. You can use hot glue but the kind of magnets I used had a sticky foam piece already on it.

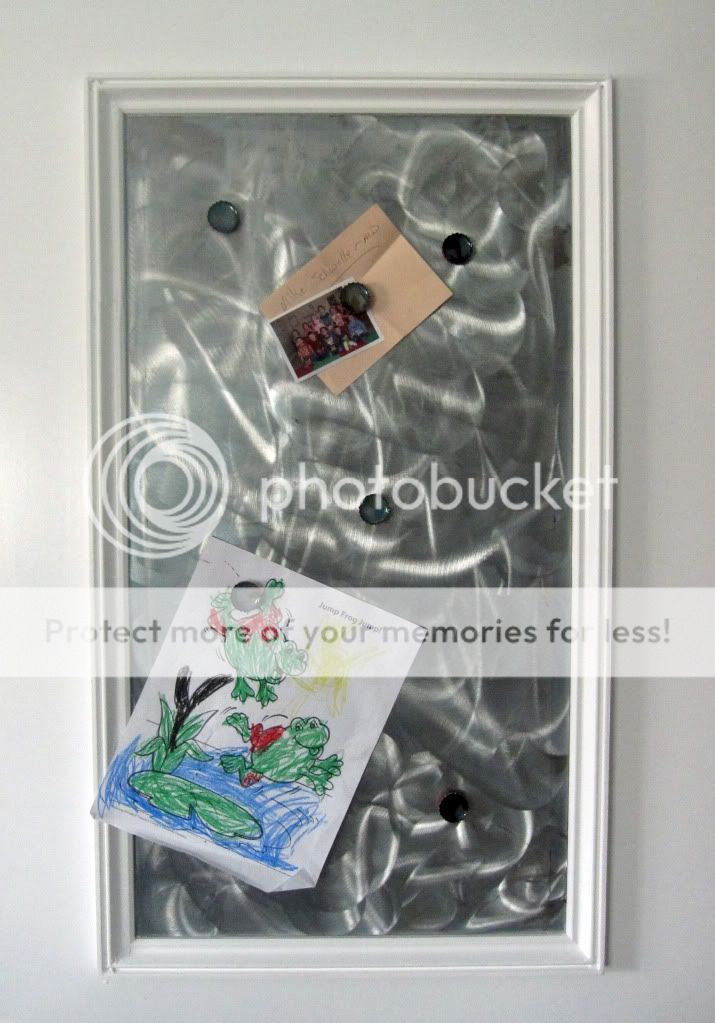
Here they are holding up some art from my wonderful 4 year old.

You can also buy cute digital art from Etsy that you can print from home. Here are some darling examples.


Piddix

Also if you click here you can see several shops that offer different images to make your own magnets.

This is such a fun project and an easy way to customize your own magnets.


Saturday, March 26, 2011

The Other Side of My New Pantry Door: Magnet Board Tutorial

Best Blogger Tips
This has been one of "those" weeks. You catch my drift.

I completed about 4 projects in the last few days. One I posted about here, the second worked out but I didn't ended up liking it for what I wanted and the other two were monumental FAILS. So even though I have been really busy this week, I feel like I have accomplished nothing. Zip. Zero.

On a positive note I am completely finished with the kitchen except for rugs. I have been putting off the rug thing because they can be expensive and I though I had a way to get around searching for them.

Wrong. 

Wish me luck and pray that I can walk into a store and find some awesome inexpensive ones.

Now that would be a girls dream come true. Now on to the tutorial! Before we begin I have to apologize for the pictures. Most of my projects occur at night once the kiddos are in bed so the lighting is not great. I hope you can forgive me.

After completing my new fabulous chalkboard pantry door I decided the back was so flat, boring and useless. I decided the space was begging to be used so I decided to add a magnet board to it.

I primed and painted the door in a semi-gloss white and I let it dry overnight. 


I used an old magnet board that I was given years ago by my cute sis-in-law Melissa. If you don't already have one you can buy sheets of metal at Home Depot. At my local Home Depot they had a similar sized sheet of metal for around $19. It was in the plumbing section but you can ask someone at your local hardware store and they will show you where they are.

I held up my sheet metal where I wanted it, leveled it and marked each side with a pencil.

I used Liquid Nails Heavy Duty to attach the metal sheet to the door.


Make sure you apply enough to the surface to get a strong bond.

I lined up the metal with the lines I had already made and pressed it in place. 

Next I took strips of moulding and cut them to size using a miter saw. I painted them before I hung them so I would only have a few touch ups.

I used the same liquid nails to apply the moulding around the sheet metal.  Once all my pieces were up I used white wood filler between the pieces. I let that dry and then sanded and painted them. The cool swirly pattern was something my bro-in-law added to the magnet board for me.

This magnet board is going to clean up my of all my "to-do" papers off my fridge. I also have plans for a cute art wall in my kids play/school room so I can properly display their beautiful drawings instead of having them constantly falling off the fridge. 

See the magnets? I will be posting an awesome tutorial on how to make these soon. Hope you guys had a good week and a great weekend!

Friday, March 25, 2011

Kitchen Wall Art Tutorial: "Giclee" Print, Silverware Art and Painted Bundt Pan

Best Blogger Tips
There was a big blank wall in my kitchen and I kept tossing around different ideas around in my head on what to do with it. Here is the final result.


On my search I ventured upon these two photos.
www.crapivemade.com
I especially loved this one with it's mix of vintage flair and clean modern lines.
www.bluecricketdesign.net

I bought a ton of frames from the local thrift store. I removed the back from the frame and sprayed it with spray adhesive. I also grabbed some left over navy fabric.

After spraying the board I smoothed out the navy fabric over the top.

I trimmed the fabric to fit, leaving about 1/4 inch around the edge.

I spray painted the frame a glossy white and put the fabric covered board back in.

I took my silverware (also purchased from a thrift store) and slightly flattened the forks and spoons (sorry for the horrible next few pics. I had to take them in my garage).

I did 3 coats on the front and 2 coats on the back of the silverware.

Play with the layout of the silverware until you come up with something you like. I used hot glue to attach the silverware to the fabric board.

To finish of my wall I used another thrifted frame that I spray painted white. I used the same technique to attach a swatch from the Joel Dewberry Modern Meadow line into the frame.

I also love the modern word giclee print. I used photoshop to create it. Instead of printing it off at home I printed it off at Costco in a luster finish. The frame I used was another thrifted/spray painted white.

The bundt pan was also thrifted and spray painted navy.

Cost break down:
   Frames: $3
   Print: $1.50
   Silverware: $1.50
   Bundt Pan: $1.50
   Spray Paint: $1
   Fabric: Free

   Total: $8.50

Oh, yeah. I'm cheap like that.

Love it.

Wednesday, March 23, 2011

Alaska...America's Last Frontier

Best Blogger Tips
Do you remember when I talked about spending time away from the Starter Home last summer? Well we did it because of the hubster's job. We are getting ready to head out again. We spent last summer it the hot south and this year...well we are voyaging to the final frontier...ALASKA (feeling a little treky right now). I am actually really excited.
www.tourppp.com

 One thing that is really hard about being gone for the summer is that I have never had a garden. I think this year I am going to try container gardening for fruits and veggies.

Has anyone done this before?

I will have to learn about growing seasons there and what will do well but I am looking forward to the challenge!

Because we are moving so far away my husband will be driving the car while I fly with the 3 kiddos...alone.

Did I mention I will be alone?

I am actually not that worried about the flight but I am stressed about the check-in/carseat and baggage drop-off/security part. Trying to get 3 kids, stroller and diaper bags through security is no picnic but I think it beats spending a week in the car with the same 3 kids.

Two other big positives about Alaska are that I might run into these ladies.

Where does Sara Palin live?
www.huffingtonpost.com

And the most beautiful and wonderful Ana White! I would love to have a building lesson with her. My husband built me some wonderful furniture from her website.

www.ana-white.com 

The next few weeks are going to be super crazy for me. I have started the nursery. I even got the walls painted but I am going to try and get it completed before I leave for the finale frontier. I also have to get everything packed and ready to go. You may have to bear with me over the next few weeks while I get my home in order to move, move and get unpacked. One positive is that I have a ton of tutorials to share with you...once I have time.

Thanks for your patience! 

Sunday, March 20, 2011

Chocolate Streusel Bar Recipe & Fireworks

Best Blogger Tips
Years ago one of my dear friends, Amber, introduced me to this yummy recipe.

And when I say yummy I mean I had to hold myself back from stuffing my face with the whole pan of it.

This is the type of dessert that, if I don't issue some serious self control, I could eat all of it in a day. Oh and it is an easy, quick recipe, too. Now that is a win win situation for me.

Chocolate Streusel Bars
1 3/4 C Flour
1 1/2 C Powdered Sugar
1/2 C Cocoa
1 C Butter (room temp)
2 Tsp Vanilla
8 oz Cream Cheese
14 oz Sweetened Condensed Milk
1 Egg

Preheat the oven to 350 degrees. Prepare a 9x13 pan by Lightly oiling it.
Combine the flour, sugar and cocoa.

Blend in the butter to make a coarse, crumbly mixture. Reserve 2 cups of this mixture & press the rest into the bottom of the prepared 9X13 pan.

Bake this for 15 min and set aside to cool.

Beat the cream cheese until fluffy.

Add milk, egg & vanilla. Blend until smooth. Make sure you blend this mixture until all the lumps of cream cheese have been mixed in completely.

Pour your cream cheese mixture over your pre-baked crust. Sprinkle the top with the remaining chocolate /butter mixture and bake for 25 min. Let cool and chill until set. I personally think they taste best warm or at room temperature.

I thought that since I promised you fireworks and explosions here for this week. I thought I should ante-up.
-
www.hacknmod.com
www.defencetalk.com
Because you are only as good as your word.

Thursday, March 17, 2011

Felt Cupcake Pincushion Tutorial: Two Delicious Options

Best Blogger Tips
I think I was really lucky because after I got married because my mom gave me ALL of her sewing stuff including her sewing machine. It was so nice to have everything from the get-go and even nicer to not have to pay for it all myself.

One of the things in my hand-me-down pack of treasures was the classic tomato pincushion.

You know the one I am talking about.

I remember playing with this particular pincushion as a child. I don't know why kids get so much enjoyment out of playing with pins but I know I loved it. Now I have kiddos of my own and they surely enjoy playing with them, too. Well I decided to upgrade my pincushion. Mostly because I already had the supplies so it would be FREE for me.

Yeah, I'm cheap like that.

Since I was upgrading I decided it needed to be something cute. Delicious even.

So I made myself a yummy cupcake pincushion and it turned out so cute but as I admired my creation I realized there was an even easier way to do it. So... I am going to show you both ways and you can decide which option works for you.


You will need:
2 sheets of felt in the same or coordinating colors

and

about a 8"x12" rectangle of fabric and about 8"x12" of quilt batting
or
about a 5"x12" rectangle of knit fabric

hot glue gun
sewing machine or needle and thread
and pins of course

Option 1: Fabric and Batting 
Cut strips from your two pieces of felt about 1/2"-3/4" lengthwise

Cut each of your felt pieces in half lengthwise and use your iron to press them in half.

Take two pieces of your felt (I used a dark brown and a light brown) and lay them on top of each other with just a small amount of the bottom fabric showing.

Beginning at one end roll your fabric tightly. Roll it to create a cone shape. You can tap the top or the bottom of the cone to adjust it. Here is how mine looked.

Add your second pieces of felt. Use a small dot of hot glue to secure it.

Continue to wrap until you have your cupcake top.

Turn your "cupcake" over and trim the excess off.

Now you need to create your liner. Using your "cupcake" as a guide, trace a circle about 1/2" bigger then the bottom. Cut the circle out and cut a matching circle from the batting. Use a basting stitch to secure the batting to the fabric.


Take the rest of your fabric and cut a rectangle. You want it to be able to wrap all the way around the cupcake with about 1" overlap. You also want it to be about 1/2" longer.

Match the fabric up with the batting and cut a matching rectangle. Using a sewing machine stitch lines about 1/4"-1/2" apart. This will create that ribbed look of a cupcake liner. Trim off any excess.

Press one long side of your rectangle over about 1/2" and one short side over 1/2". Wrap it around your cupcake. Mark with pins or disappearing ink where the liner needs to be sewn together.

Remove it from the cupcake and pin.

Turn the cuff you made inside-out and match right sides together with your circle piece. Stitch together and turn right side out.

Pull your liner onto your cupcake (this is when it occurred to me that using a stretchy fabric for the liner would be way easier)

Now find those two skinny strips of felt you cut earlier. Glue the ends on top of one another and glue it to the "cupcake" right above the liner.

Twist them and wrap it around your cupcake. Use hot glue in a few places to secure it in place. Trim off any extra and glue the end down. Place your sprinkle pins in it. DO NOT EAT :)

While I was taking pictures my 4-year-old came in and said, "Mom, that looks like a yummy cupcake." He picked it up and pulled the pins out. "COOL! The pins look like big sprinkles!"

pause pause pause

"Can I eat it?"

Nothing like a little guys comments to make you feel like you did your job.

Option 2: Stretchy Knit Fabric

I created my cupcake top the same way.

This time I used a piece of brown ribbed stretch knit. I rolled it to see how long I needed it. I also cut it to be about an inch wider than the cupcake.

I sewed the two short sides together to create a cuff. I then used a gathering stitch to gather one long side. After I had it gathered as tight as I wanted I ran a tighter stitch over my gathers to hold it tightly together.

Trim and turn right side out. Pull it onto your "cupcake".

Use the same technique to create the frosting edge by taking two skinny pieces and twisting them. This one was much easier. It took maybe 10 minutes.

I think it turned out so cute!

You can see that they are two different sizes. It just depended on how tight I wrapped them and how tall I made the cone shape.
 Yummy and oh-so-cute.

These would also be darling for a cupcake themed room or for play food.

What about you guys? Did you have to buy all your sewing supplies or do you not sew because of how expensive it would be to start up?

I am really grateful for all my mom's stuff. Having it in my home is actually the reason I became interested in sewing. Thanks mom!

Oh and Happy St. Patrick's Day. Yes, I know my post has nothing to do with it but myself and all my kiddos are currently in green but more importantly today is the first day of March Madness! Yep, we are one of "those" families. 
Related Posts Plugin for WordPress, Blogger...