


So can resolutions begin at anytime? I sure hope so because I almost never start resolutions on the very first of the year.
Now don't get my man wrong. We set goals for our family at the beginning of the year. On the first family night of the year we all set goals. Even the littles. Some of Baby V's goals this year are to learn to crawl and walk. Mr. P wants to start learning to read and Mr. U wants to get potty trained.
Okay mommy wants him potty trained.
My hubby and I set goals for our family. Financial, spiritual etc but we also set individual goals.
This year one of my goals is to keep a journal.
Ugh.
I have been told all my life the importance of keeping a journal. Leaving your story for future generations, keeping a record of your thoughts.
I am just not convinced that anyone would find my grocery shopping trip or changing diapers a good read.
So I decided to have a theme this year. I am not going to write about day to day happenings but I am going to record something funny or happy that each of my child did or said that day.
I want to remember those moments.
In order to help me keep my resolution I need something fabulous to keep those memories in.
 The fabric is from Amy Butler's awesome Love collection. Cypress Paisley in Lime, Sun Spot in Olive and Tumble Roses in Tangerine.
It's just begging for me to fill it with thoughts.

Want to make one, too?
Gather your supplies. Fabric scraps, ribbon, hot glue gun, mod podge, composition book, paint brush, solid color cardstock, scissors and a pen.

First you need to take your cardstock and place it inside your journal. Line it up with the black band and trace around the journal. Cut two pieces of that same shape.

Glue those pieces on the front and the back with hot glue. Glue down the edges and run a bead of glue down the middle. This will make it so you can't see the cover through the fabric
Take another piece of cardstock and do the same thing but this time push it flush to the inside. When you cut this one out you want to cut inside your line about 1/4 inch on the top, one side and bottom. Cut two of these.
 You then need to cut two rectangles from your fabric for the front and back. Make sure to cut them about 1/4-1/2 inch bigger on all sides. Use your mod podge to glue the fabric down.
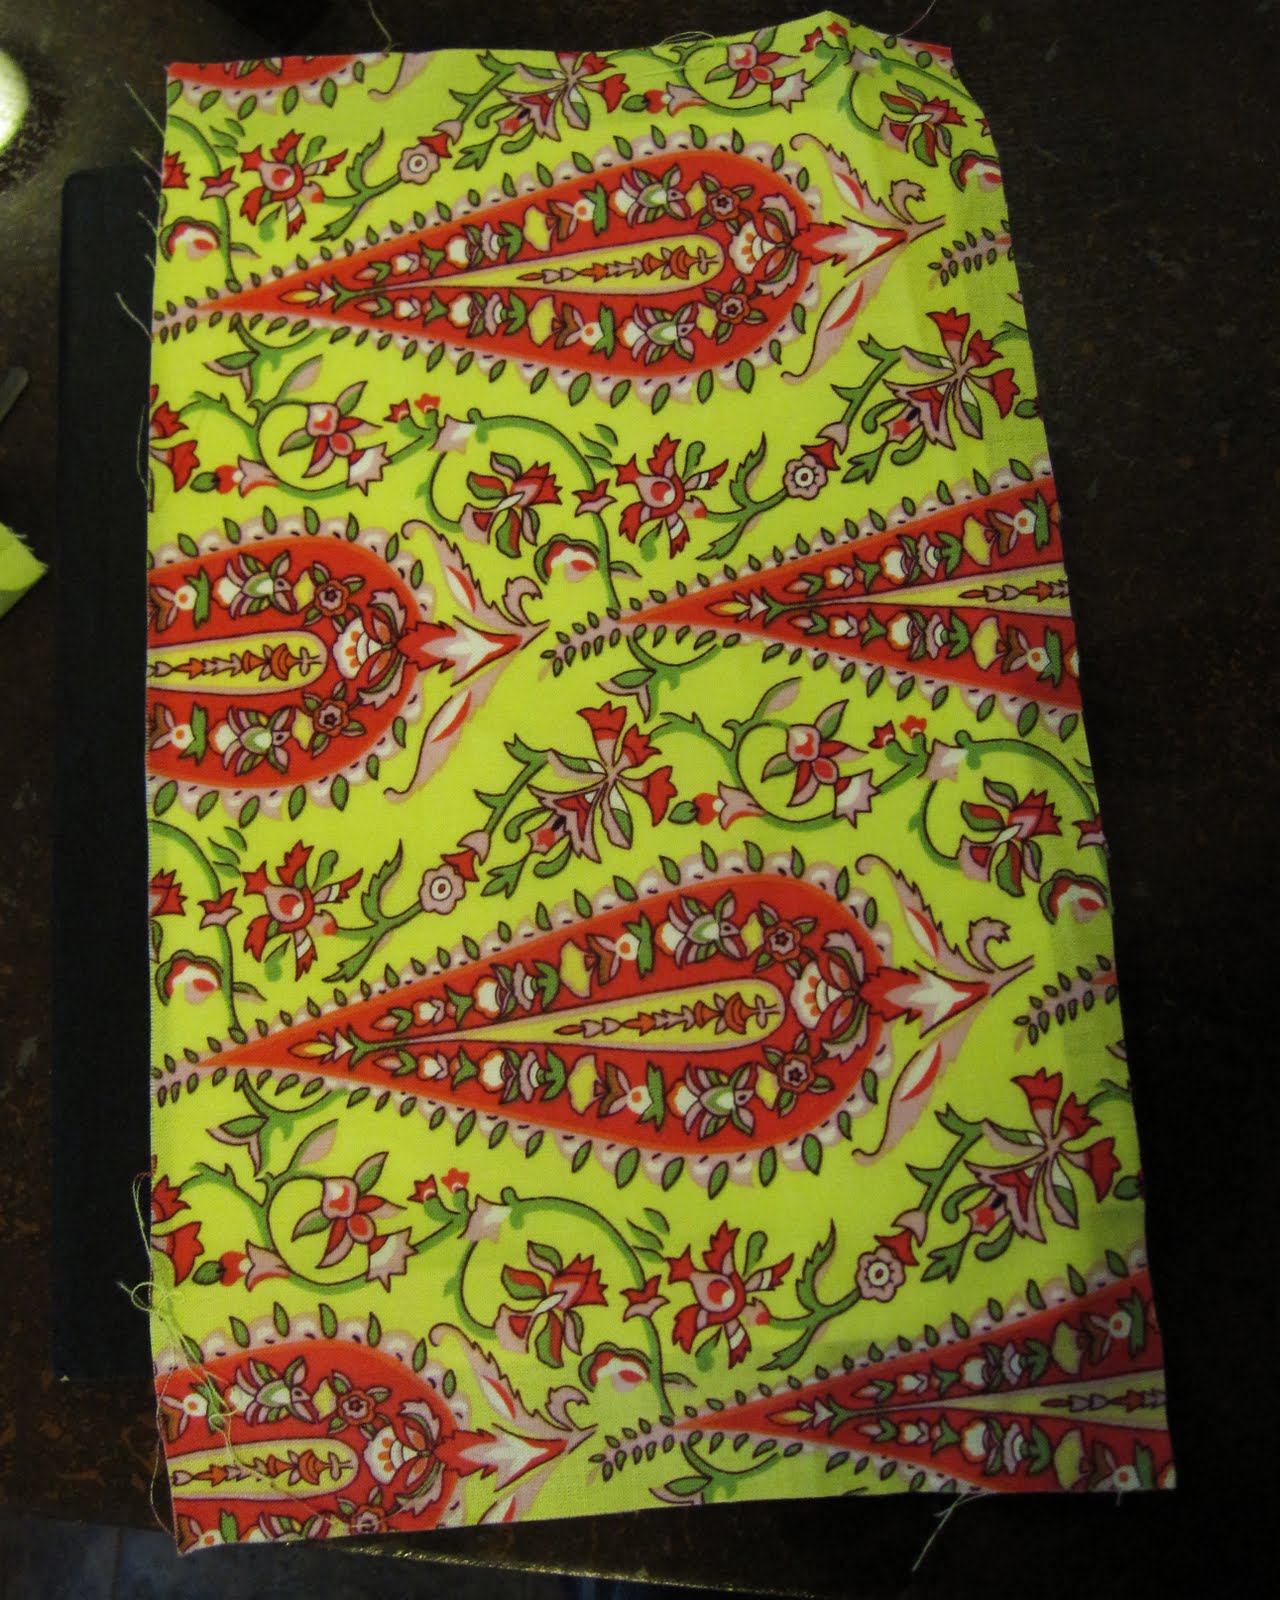 Open your cover and run thin strips of it on the edges and push your fabric down. Fold the corners and pull the fabric slightly. Repeat the same process on the back cover also.
 Next I cut a strip of fabric to cover the black binding (you could also use really wide ribbon). Cut it about an extra 1 1/2 inches wider and longer. I pressed the fabric in half and then pressed the long sides over with an iron about 1/4-1/2 inch. Glue it using mod podge to the front of your journal.
Make sure you cover the raw edge of the other fabric. DO NOT glue it to the spine or back yet. Turn your journal over.
 You are going to make two cuts on each side of the strip like in the picture. You want to make the cuts so the middle piece is the width of the spine of the journal. Glue down the middle piece with hot glue or mod podge.
Cut a piece of coordinating ribbon a about 3-4 inches longer than the journal. Use a lighter, candle or match to heat seal the ends by melting the ribbon slightly. Glue the ribbon to the upper spine with hot glue. Fold over your strip of fabric and use mod podge to glue in place on the spine andback cover. Make sure you fold the long edge under.
 Open your journal and glue the strip of fabric on the inside using mod podge.
 Take the two pieces of cardstock you cut for the inside. Cut fabric a little bigger on all four sides than the cardstock. Glue it to the cardstock and turn it over. Glue all four sides down. Glue this piece to the inside of your journal. I used mod podge to glue it down but then I went back with hot glue and glued the edges down with that.
 I can't wait to start using it! This would be cute for a journal, to do list, planner, anything. You could also use cute paper instead of fabric.
What about you? Do you have New Years resolutions? Do you keep them? Do you have anything that helps you accomplish them?
Well I am off to write down today's adventures.
SOOOO cute! I love this project too - just saw it and I know it's old, but whatever, I think it's super-cute and I have to confess that I love making pretty notebooks... for some reason, all of them just beg to be covered with fabric and mod podge and glue and ribbon and paper... at least to me! : )
ReplyDeleteJust came across this post by searching google for fabric covered journals. I've been using spray adhesive and I'm so happy to know I can use mod podge!! What a mess that spray is!!
ReplyDelete