Meet Ana White.
 |
| www.ana-white.com |
She is beautiful, a wife, a mama, an Alaskan and can build like no ones business.
Not only can she build but she shares all of her plans FOR FREE on her fantastic site that you can find here.
We used three of her plans to make our furniture for our "new kitchen" on the cheapo.
Let's review the extent of my kitchen furniture before.
Yep...that's it in all its glory.
Now this photo does not do justice to the table. My great-grandmother received this as her wedding gift. It was passed down to my grandma and then to my momma. It is a beautiful table but it did not fit the space well not to mention I cringed every time a toy was banged into it. The chairs were hand-me-downs from my mom and then we used folding chairs for the kiddos.
That is how my kitchen looked for the last 4 1/2 years because furniture is expensive!
Our first project was her very popular farmhouse table.
We printed the plans and shortened the measurements for the length of the table and got to work.
We (and by we I mean my hubby) cut all the wood and assembled the table according to Ana's instructions. After the hubster got it all put together I filled the screw holes and sanded it smooth with my new sander. We then brought it inside because it was still too stinkin' cold outside to stain it.
Now here is where the real process started. At first I thought I wanted a lighter "driftwood" look for the table. I used wood conditioner and a water based stain from minwax.
I topped it with minwax finishing paste.
 |
| www.homedepot.com |
Also, the wax cracked where it had been pushed into the seams between the wood and I knew that I would have take a toothpick after every meal to clean out those little crevices.
So I started over. I sanded it down and scraped the wax out of the seams. I was trying to decide what to use in the seams to keep all those pesky crumbs out and decided to try some wood glue (I still am not sure why I though this was a good idea).
Anyway.
The glue did not work. Surprise. Surprise. So after it was dried I had to scrap all of it out and after talking to some other wood enthusiast and my mama I decided to try would filler. I bought minwax wood putty that was stained to match the stain I would use.
 |
| www.homedepot.com |
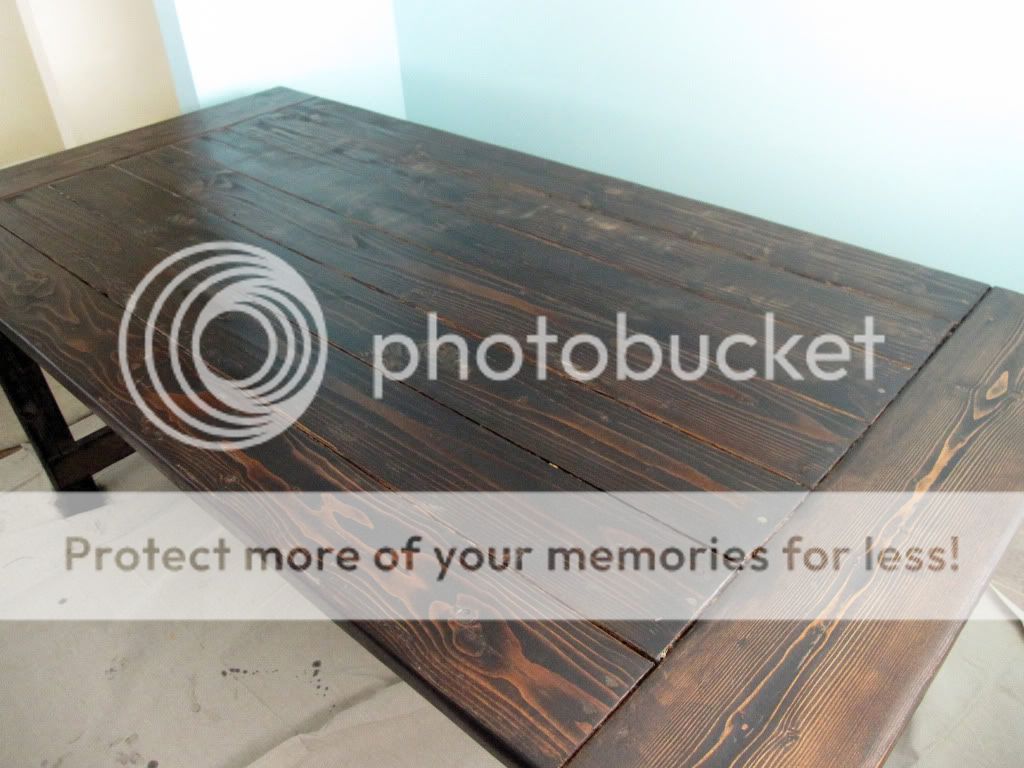
So I scraped that out and bought some wood filler. I filled the seams and let it dry. I then sanded it smooth. I stained the table using a pretty dark stain called Jacobean. I used two coats and then sealed it with 2 coats of satin finish polyurethane.
I needed the tabletop to withstand my kids.
 | ||
| www.homedepot.com |
And here she is all done.
I love the way the dark stain pops against our blue walls. Our total cost on this table was around $175. I love the table and in increases the room we have for our family. I can actually fit all the food and plates on the table! Plus it would easily accommodate one more kiddo if we so decide.
The chairs for the table were not made by us but I found them through a local classified website. They were brand new and I paid $60 for all of them. I know I could have found cheaper used ones if I had been patient but I wasn't.
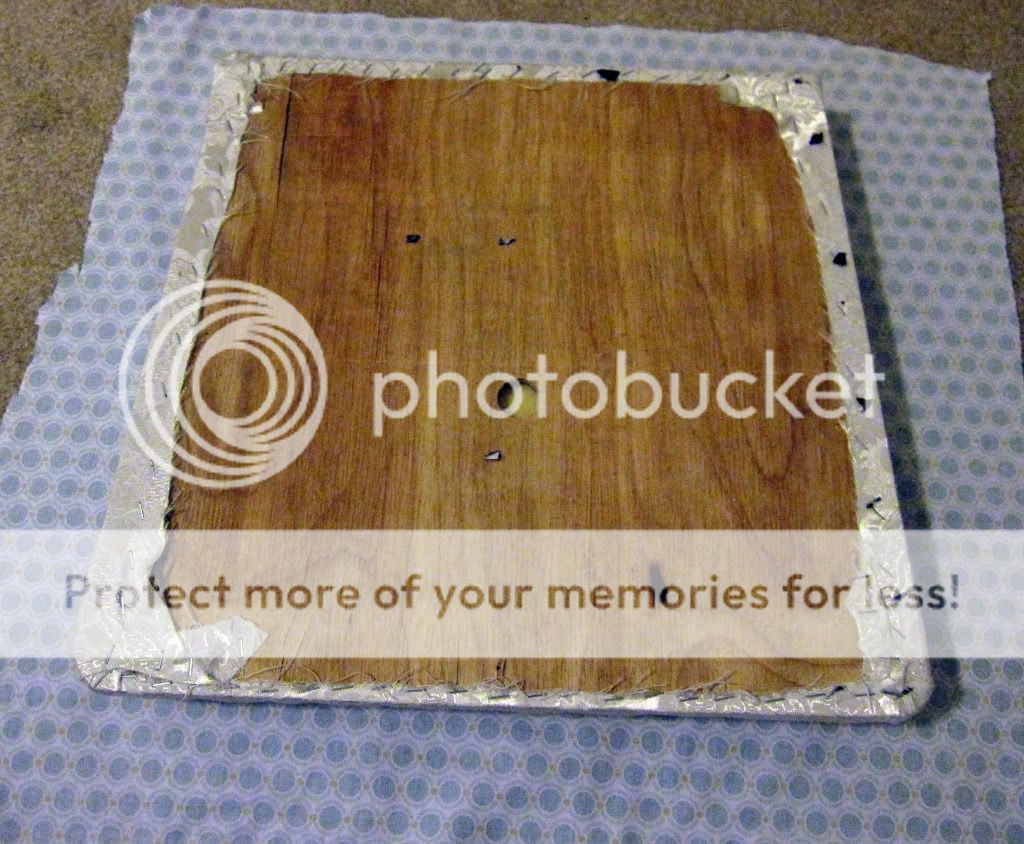
They started out with a cherry wood frame and a white damask fabric. I primed and painted them with a white gloss spray paint.
I removed the seats and cut Joel Dewberry's Acorn Chain in Pond fabric into large squares and stapled it right over the existing fabric.
I then added the seats back onto my chairs. I am so happy with them! I thought about adding plastic over the top but it was just too cheap/restaurant looking. I decided to scotch guard them and I kept enough fabric in case I need to redo one of the seats.
Total cost for my brand new chairs was around $80.
Next we tackled the matching farmhouse bench. We also shortened the length to match the table and my husband did the cutting and building and I filled holes, sanded and stained it to match the table.
Because we already had the screws, stain and polyurethane we only had to pay for the wood. I think the total cost came to $15 for the bench. This is where the kids sit and it is a little more hardy then the chairs.
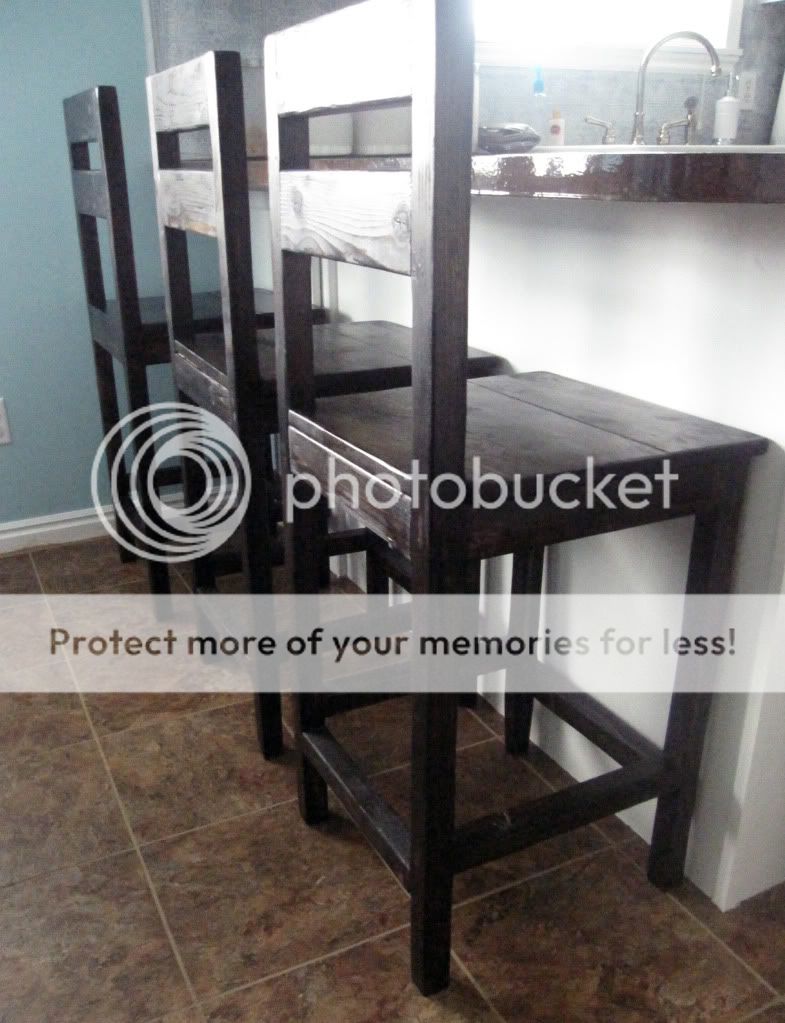
Our last build from Ana's site were bar stools.
The bar stools were for an extra tall bar but I loved that they had backs. We shortened the legs and used 2 2x4's on the back instead of the 2x3's and used 2x6's for the seat. Ana's plans are so versatile and it really is easy to customize the plans to fit your space and needs.
I used the same stain on the bar stools.
I think we spent around $30 total for all 3 stools.This was our first time having bar stools and I love having them! The kids eat breakfast and lunch up there and it keeps me from having to wipe both the counter and table down after every meal.
So we were out around $300 for all our kitchen furniture! Thinking that this table goes for $2600 at Restoration Hardware I think we ended up pretty well.
 | |||
| www.restorationhardware.com |
So do you guys have any new ideas for kitchen furniture you are going to build? Visit her site and you will find at least a dozen plans that you will want to add to your to-do list for every room in your house.
I know my list is very, very long.
Go check it out and get building!


Don't you love Anna White!? I made her Farm house bed frame for our master. I've been meaning to blog about it but it will be a very big post! Hehe! Love your blog and thanks for stopping by mine! =D
ReplyDelete-Andrea
bluelacehouse.blogspot.com
Awesome job! I loved how yours turned out.
ReplyDeleteI love the modifications you made to the barstool! I've never built anything before but think I'm going to try this.....I have a question....You said you used 2 x 6 's for the seat? Is that a misprint? From the picture it looks like a 1" board. Like I said, I'm a complete beginner and don't know what I"m doing. Thanks!
ReplyDeleteComplete misprint! Thanks for catching it. They were 1x6's! :)
DeleteYour table looks great. I'm really thinking about trying it myself although as a first project it might be beyond me:-) This is really silly of me but here goes....you say you filled in between the boards with wood filler but yet they still look like separate planks. When I filled in the seams of some wood paneling we have on the wall it didn't look like wood planks anymore. Thinking of all the crumbs getting caught has been keeping me from doing this table. Thanks for any light you can shed on this.
ReplyDeleteWhen I used the wood filler I filled the seems but then I ran my finger over them to create a divot in between the boards. I hope that makes sense. Also, wood filler does not stain the same color as the wood. There will be some difference which helps to keep the look of planks. Good luck!
DeleteThis comment has been removed by the author.
ReplyDelete